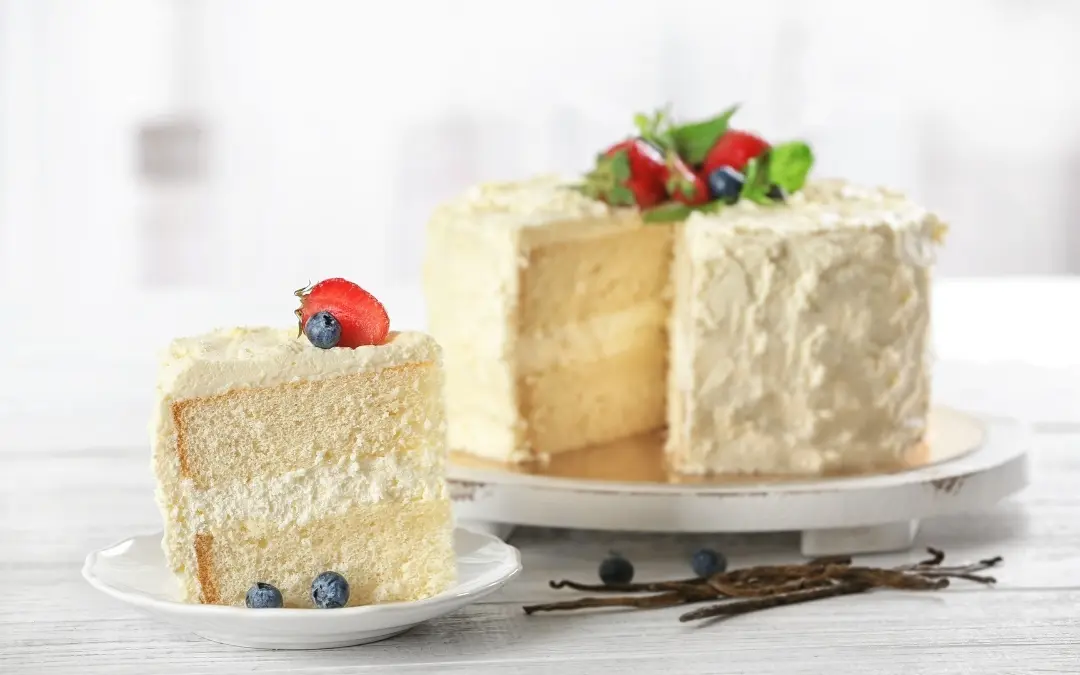
If you have ever wondered how bakeries achieve cakes with a soft, tender crumb and a smooth, even texture, the answer may lie in the reverse-creaming method.
Unlike the traditional creaming method, where butter and sugar are beaten together first, reverse creaming starts by mixing butter into the dry ingredients before adding liquids.
This technique is especially popular for cakes that need a fine, delicate crumb and consistent texture. While it may seem unfamiliar at first, learning how to perfect the reverse-creaming method can help improve cake texture and reduce common baking issues like tunnelling, dryness, or uneven crumbs.
What Is the Reverse-Creaming Method?
The reverse-creaming method, sometimes called the “paste method", changes the order in which ingredients are combined.
Instead of creaming butter and sugar together first, softened butter is mixed directly into flour and dry ingredients to coat them before wet ingredients are added.
In simple terms:
- Traditional creaming method:
Butter + sugar → eggs → dry ingredients - Reverse-creaming method:
Dry ingredients + butter → liquids → final mixing
This change affects how gluten develops and how air is incorporated into the batter, resulting in a different cake texture.
Why Use the Reverse-Creaming Method?
Reverse creaming is often used when bakers want a softer, finer, and more stable crumb.
Because butter coats some of the flour before liquids are added, gluten development is reduced. This helps create cakes that are more tender and less prone to becoming tough.
Benefits include:
- Softer and more even cake texture
- Reduced risk of overmixing
- More stable cake structure
- Moist and tender crumb
- Flatter cake tops with fewer cracks
This method is especially useful for layer cakes, butter cakes, and celebration cakes where a neat, uniform crumb is preferred.
Best Types of Cakes for Reverse Creaming
Not every cake benefits equally from reverse creaming, but it works particularly well for recipes that require softness and consistency.
Best for:
- Butter cakes
- Vanilla and chocolate layer cakes
- Birthday and celebration cakes
- Cupcakes
- Dense but tender cakes with smooth crumbs
Very airy cakes, such as chiffon or angel food cakes, usually rely on different techniques to create lift and structure.
Step-by-Step: How to Reverse Cream Properly
1. Mix Dry Ingredients First
Start by combining flour, sugar, baking powder, salt, and any dry flavourings in a mixing bowl.
Mixing dry ingredients evenly helps ensure consistent rise and texture.
2. Add Softened Butter
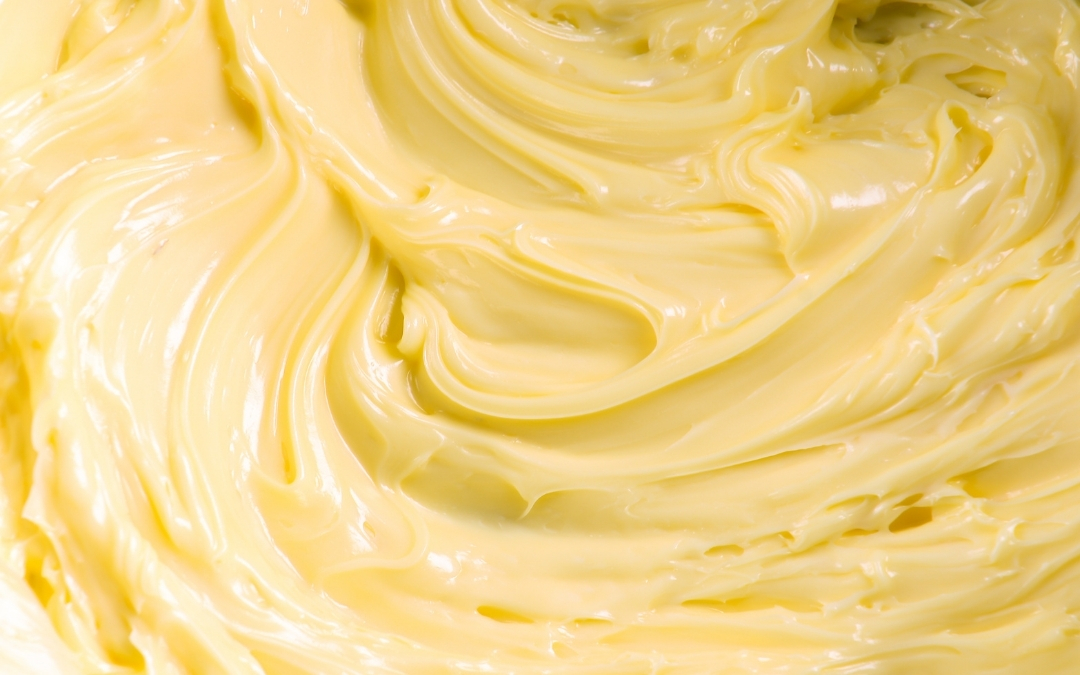
Next, add softened butter to the dry mixture.
Mix until the texture resembles damp sand or fine breadcrumbs. The flour should be lightly coated with butter, with no large chunks remaining.
This coating process helps limit gluten formation later, creating a softer cake.
Tip:
Butter should be softened, but not melted. Overly warm butter can affect batter consistency.
Using a good-quality baking butter can also improve flavour and texture.
For example, Anchor Unsalted Butter has a smooth, creamy consistency that blends evenly into the flour mixture, helping create a finer and more tender crumb in reverse-creamed cakes.
3. Add Wet Ingredients Gradually
Combine wet ingredients, such as eggs, milk, vanilla extract, or oil separately.
Add them gradually to the butter-flour mixture, while mixing at low speed. Avoid pouring everything in too quickly, as this may create lumps or uneven mixing.
The batter should become smooth and slightly thick.
4. Avoid Overmixing
Once ingredients are combined, stop mixing.
One advantage of reverse creaming is that it naturally reduces the risk of overmixing, but excessive mixing can still affect texture.
Mix only until smooth.
Common Reverse-Creaming Mistakes to Avoid
Using Cold Butter
Cold butter will not coat the flour evenly, and may leave chunks in the batter.
Instead, use softened butter that is slightly cool, but easy to press.
Adding Liquids Too Quickly
Pouring liquids too fast may create uneven texture or cause ingredients to separate.
Add wet ingredients gradually for a smoother batter.
Overmixing the Batter
Although reverse creaming is more forgiving, overmixing can still affect tenderness and structure.
Stop once the batter looks evenly combined.
Expecting a Fluffy Batter
Reverse-creamed batter often looks thicker and denser than traditional cake batter. This is normal and helps create the fine crumb associated with this method.
Reverse Creaming vs Traditional Creaming
Both methods work well, but they produce slightly different results.
Feature | Reverse Creaming | Traditional Creaming |
|---|---|---|
Texture | Fine, tender crumb | Lighter, airier crumb |
Structure | Stable and even | Fluffier rise |
Risk of overmixing | Lower | Higher |
Best for | Layer cakes, cupcakes | Light butter cakes |
If your goal is a bakery-style cake with smooth texture and clean slices, reverse creaming may be the better choice.
Helpful Tools for Better Results
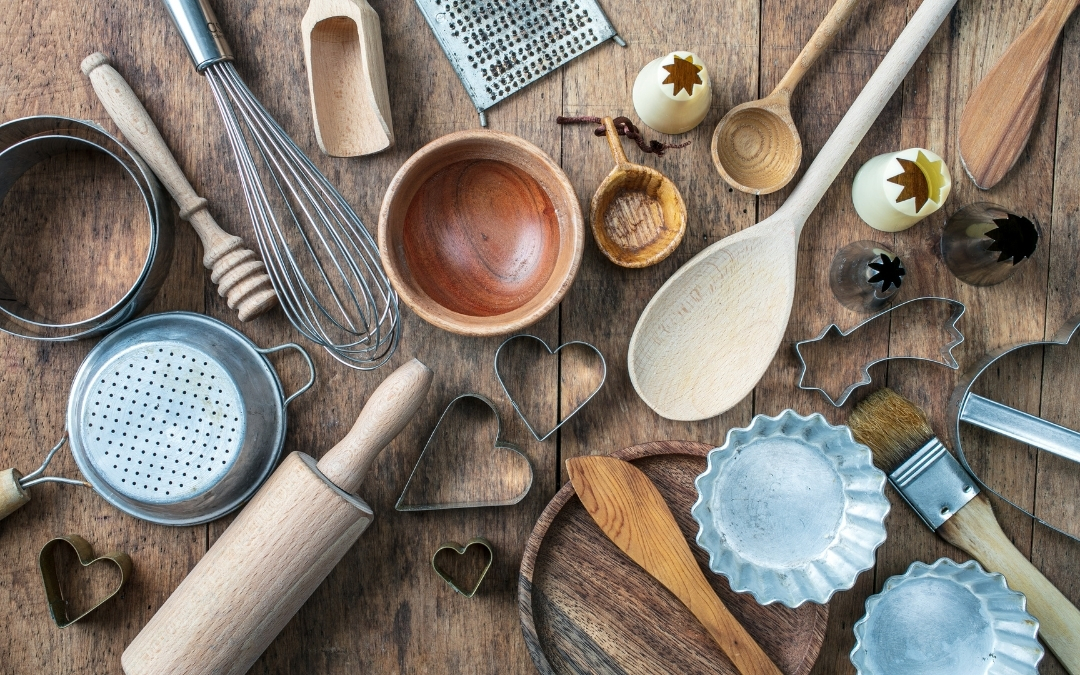
Having the right tools can make reverse creaming easier and more consistent.
A stand mixer or hand mixer helps evenly coat butter into flour, while measuring tools improve ingredient accuracy. Good-quality cake pans also support more even baking and consistent structure.
At Bake With Yen, bakers can explore baking essentials such as cake ingredients, baking tools, and moulds to support more consistent baking results at home.
Final Thoughts
The reverse-creaming method is a useful technique for bakers who want cakes with a soft, smooth, and tender texture.
By coating flour with good-quality butter before adding liquids, this method helps reduce gluten development and creates a finer crumb with more even structure.
While it may feel different from traditional cake mixing at first, mastering reverse creaming can improve consistency and help produce bakery-style cakes with minimal effort.